GPOrbit
How to call it
For using the GPOrbit class, the developer has only to create such an object with these two possibilities:
- With no orbit initialization:
gpOrbit = new GPOrbit("Orbit");
- Or, if we want to initialize the widget with a predefined orbit:
final Frame CIRF = FramesFactory.getCIRF();
final TimeScale TUC = TimeScalesFactory.getUTC();
final AbsoluteDate date0 = new AbsoluteDate(2010, 1, 1, 12, 0, 0., TUC);
final double ae = Constants.WGS84_EARTH_EQUATORIAL_RADIUS;
final double mu = Constants.WGS84_EARTH_MU;

ApsisOrbit orbit =
   new ApsisOrbit(ae+200.e+3, ae+300.e+3, FastMath.toRadians(51.6), 0., 0., 0.,
                  PositionAngle.MEAN, CIRF, date0, mu);

gpOrbit = new GPOrbit("Orbit", orbit);
Display
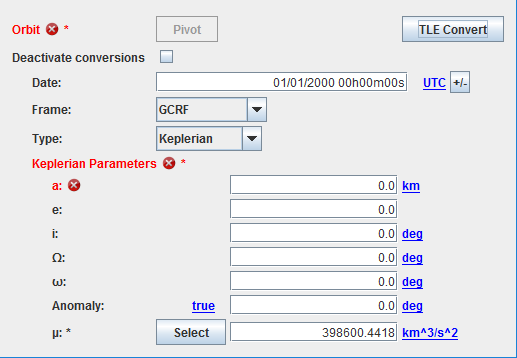
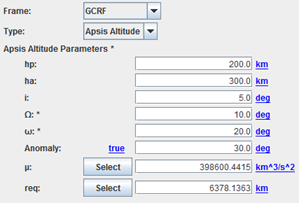
With the first example, we will be able to display this:
We can see that the widget is automatically set in an error mode as the semi major axis is null.
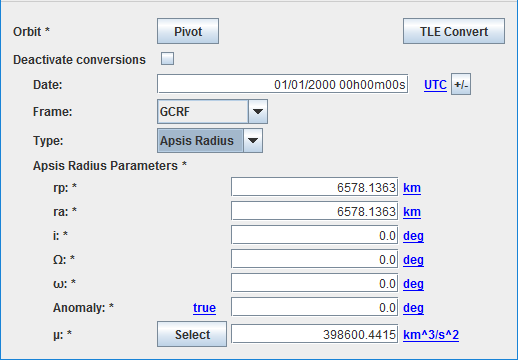
On the contrary, if it is not the case (as for the second previous example):
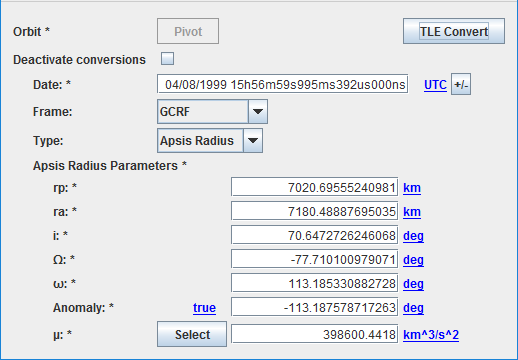
Note that since the V2.0 version, it exists the possibility to enter data from a TLE by cicking on the dedicated button. These data will be automatically converted in osculating parameters.
We have also the possibility to customize the list of frames and/or types of parameters. In the example below, we will be able only to propose GCRF, CIRF and EME2000 for frames when only Keplerian, Cartesian, ApsisRadius and Reentry will be available for type of parameters:
GPRefFrame[] tabFrames = gpOrbit.getAvailableFrames();
GPRefFrame[] tabFramesSimplified = new GPRefFrame[3];
tabFramesSimplified[0] = tabFrames[0];
tabFramesSimplified[1] = tabFrames[1];
tabFramesSimplified[2] = tabFrames[6];
gpOrbit.setAvailableFrames(tabFramesSimplified);

GPParamsType[] tabParams = gpOrbit.getAvailableParamsTypes();
GPParamsType[] tabParamsSimplified = new GPParamsType[4];
tabParamsSimplified[0] = tabParams[0];
tabParamsSimplified[1] = tabParams[1];
tabParamsSimplified[2] = tabParams[5];
tabParamsSimplified[3] = tabParams[7];
gpOrbit.setAvailableParamsTypes(tabParamsSimplified);
The "pivot" notion
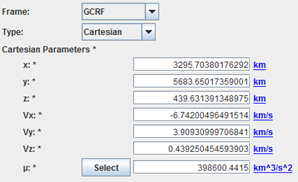
This widget is in fact a relatively complex one as it proposes a lot of different frames an type of parameters but also allows executing conversions. It is very interesting for example if you want to see quickly at which altitude is your perigee when you initially get Cartesian parameters!
Unfortunately, a feedback of many years of such use shows that you will definitively get numerical uncertainties and when you will have to return to the first entry, you will not recover exactly the same values.
The “pivot” is a very important notion that allows answering to this problematic. The basic idea is to store the initial entry as a reference (the “pivot”). So every time the user will ask for a conversion, it will be checked if the format is equal (or not) to the reference. If it is the case, no conversion will be done, the reference will be retrieved. The “pivot” is then defined by:
- The frame
- The kind of parameters
- The kind of anomaly (if relevant)
At every moment, the user may change the “pivot” definition by clicking on the dedicated button.
On the other side, if the user modifies an entry (as the eccentricity when Keplerian parameters), the “pivot” will be automatically modified (as we will be on a new orbit). On the same idea, if the user modifies the “µ” value (or equatorial radius or flatness), the orbit will also be modified. Nevertheless, a conversion will be done as it could be useful to see the influence of such constants.
Moreover, it is always possible to disconnect this conversion possibility: indeed, it is a basic case when the user started to enter orbital parameters before choosing the right frame!
Constants
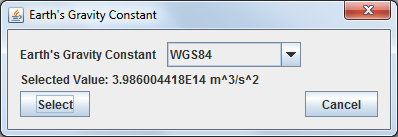
Some constants are necessary depending on the kind of parameters. Nominally, only Cartesian parameters do not need it but it has been decided to show “µ” value anytime. On the contrary, equatorial radius and/or flatness will be displayed only when needed (as for reentry parameters). These constants are modifiable via the GUI but a list of predefined values (present in [PATRIUS] library) is accessible via a select button that will display a pop-up window as below …
How to use it
To get a [PATRIUS] Orbit object, we will just have to call for the getPatriusObject() method as below:
Orbit orbit = gpOrbit.getPatriusObject();
How it is stored
Here is the XML format for such an orbit:
  <Orbit name=”Orbit”>
    <AbsoluteDate name=”Date”>
      <String name=”date”>01/01/2010 12h00m00s</String>
      <String name=”scale”>UTC</String>
    </AbsoluteDate>
    <Frame name=”Frame”>
      <String name=”name”>CIRF</String>
    </Frame>
    <String name=”typeOfParameters”>Apsis Radius</String>
    <ApsisRadiusParameters name=”Apsis_Radius_Parameters”>
      <Real name=”rp” unit=”km”>6.578137E3</Real>
      <Real name=”ra” unit=”km”>6.678137E3</Real>
      <Real name=”I” unit=”deg”>5.16E1</Real>
      <Real name=”raan” unit=”deg”>0.0E0</Real>
      <Real name=”pa” unit=”deg”>0.0E0</Real>
      <String name=”typeOfAnomaly”>true</String>
      <Real name=”anomaly” unit=”deg”>0.0E0</Real>
      <Real name=”mu” unit=”km^3/s^2”>3.986004418E5</Real>
    </ApsisRadiusParameters>
  </Orbit>
Note: the data are stored using the “pivot” information independently of how it will be displayed!
